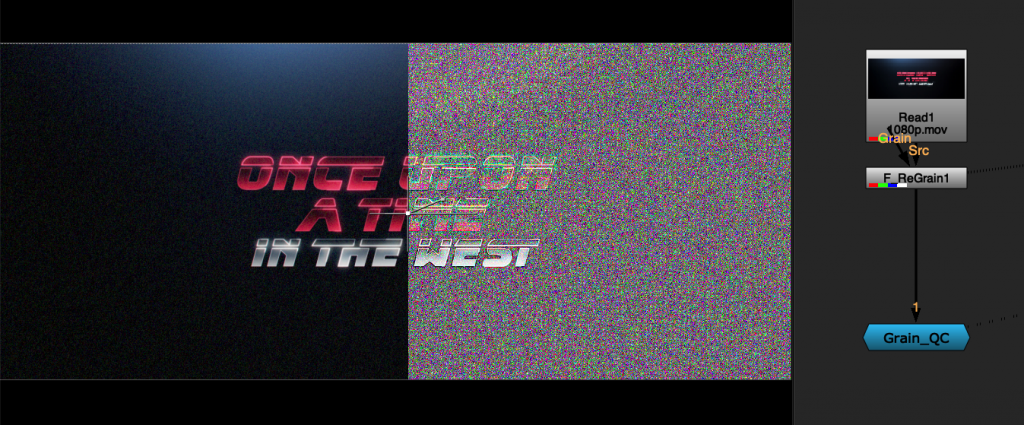
Arguably, one of the most important tasks as a compositor is to match grain. This is not a one-step process, you need to apply and adjust grain carefully and precisely. To match it though, you need to be able to see it.
In this quicktip, we are building a GrainQC node in Nuke that you can use to check grain accuracy. Let’s Start!

In a new Nuke Comp add a ”Log2Lin” node to convert the workspace from linear to logarithmic. This because log retains the most dynamic range of information by encoding what the camera sees logarithmically.

Now we need to sample the grain in dark areas. We do this by changing the colourspace to Cineon and blurring the RGB in a separate pipe minusing it under A. We can substitute this process simply with a ‘laplacian” node.
To make the grain more visible, we increase the gain as well as the saturation. In this case respectively to 100 and by 3.
The last step for this section is to copy the original alpha into our current pipe.

We can now duplicate this section, removing the ”Log2Lin” node and increasing the gain to 500. We will use this pipe to sample the grain in bright areas.

To recap, the left section is sampling grain in dark areas and the right section is sampling in bright areas. This is pivital when building a GrainQC node since we want to see grain patterns in all areas of the scan.
We can now max both pipes together and plus the output over the original input.

This is what the full script should look like. Our gizmo is nearly done!
The last step is to group these nodes by pressing (Ctrl+G / Cmd+G) and setting the last node as the group’s output (in this case the merge “plus” node).

This is the final result! Now we have a GrainQC node that we can save in a text document for safekeeping or add to our Nuke toolset.
Check out my blogpost where I teach you an effective regrain setup for your scans in Nuke.
Similary, if you want a grain checker that works in Nuke Studio, have a look at this tool by the awesome Mads Hagbarth Damsbo.

Until next time…

